Wednesday, July 29, 2015

sweet.

1 comment:
I was challenged this month to use the AWESOME cork embellishments in the You are My Favorite kit by Scrapbook Circle.  I decided to use them simply on this layout:
here is a closeup of the title:
 
I had the best time "painting" and sprinkling with Heidi Swapp mist matching with the papers included on the page.
This fun picture was from our trip as a family to the Grand Canyon--talk about STRESSFUL with little kids.  We had a GREAT time with some amazing views!
Thanks for the visit today--I really appreciate it!


Sunday, July 26, 2015

Pinterest Food Finds. Texas Roadhouse style

1 comment:
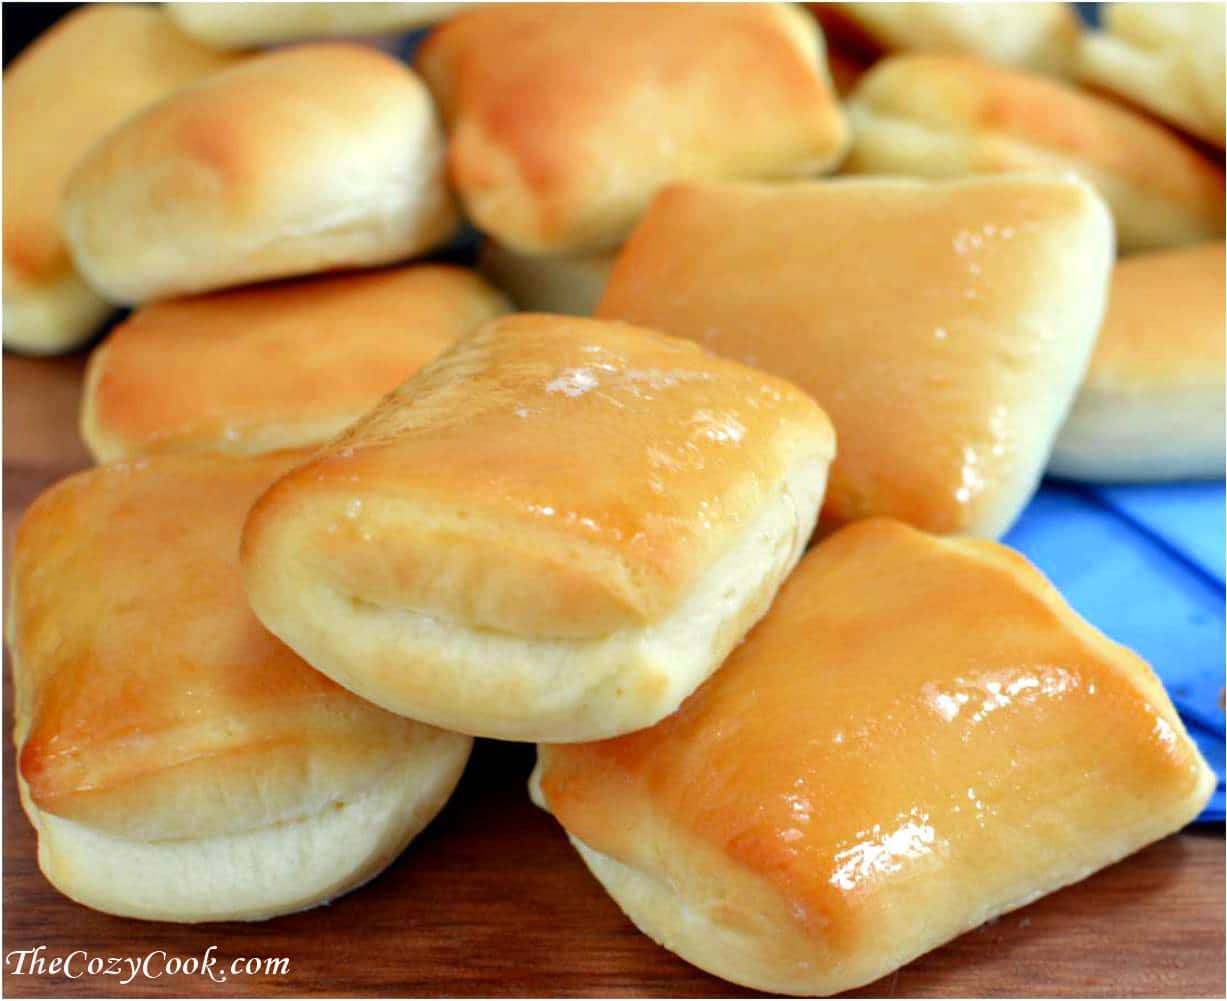
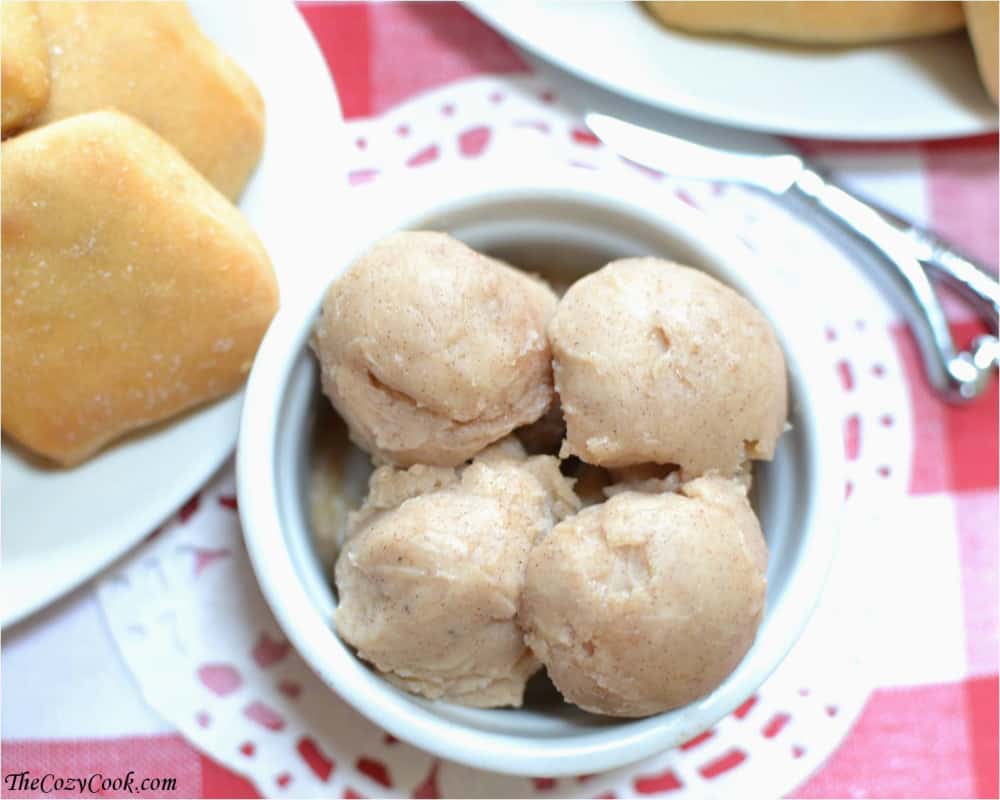
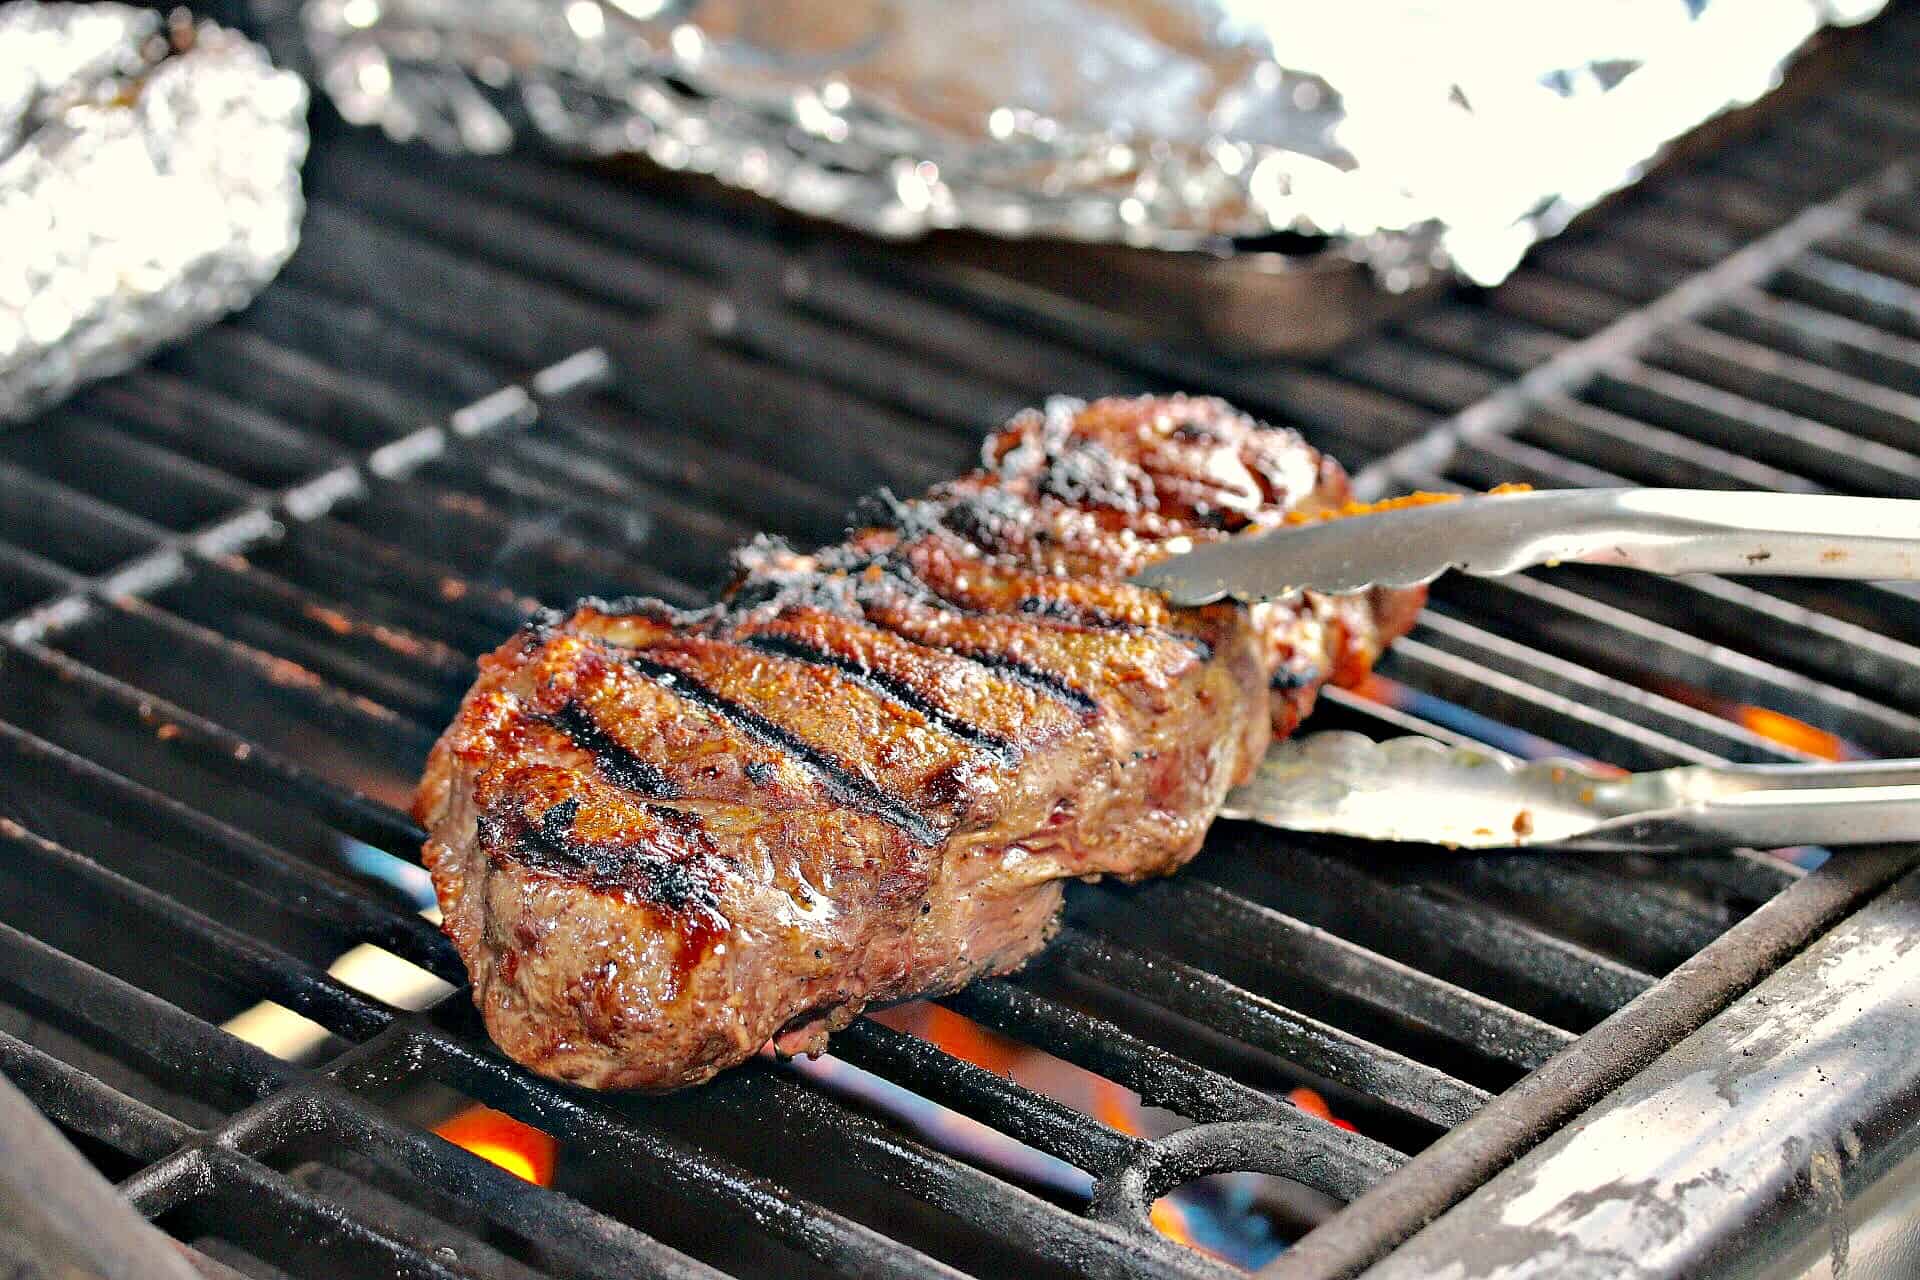
this was probably the HUGEST hit of Pinterest foods, I made steak with a Texas Roadhouse rub, the rolls, and butter.  Here are the recipes ALL in one day:

Copycat Texas Roadhouse Rolls
Serves: 24 Rolls
Ingredients
  • 2 ¼ teaspoon Yeast (or 1 packet)
  • 1 ¼ cup Milk
  • ¼ cup Honey
  • 4 Tablespoons Butter, melted
  • 1 large Egg
  • 1 teaspoon Kosher Salt
  • 4 cups Flour
Instructions
  1. Bring the milk to a boil. Remove it from heat and let it reduce to room temperature.
  2. Mix the milk, yeast, and honey in a small bowl until well combined. Let it sit for 5 minutes.
  3. In a large bowl, mix 3 tablespoons of the butter, the milk mixture, egg, and 2 cups of flour. Mix slowly until smooth. (Use a mixer with a dough hook if you have one, otherwise it works by hand.) Gradually add the remaining 2 cups of flour and mix until a dough has formed.
  4. Add salt, and mix/knead for 8 minutes. Then drop the dough onto a floured surface and knead for a few more minutes.
  5. Spray a large bowl with cooking spray and drop the dough inside. Cover the bowl (plastic wrap or a damp cloth works) and let it rise for an hour in a warm place.
  6. Cut into 24 squares of even size and place on the cookie sheets. Cover them and let them rise for about 40 minutes, until doubled in size. 

  7. Preheat oven to 350 degrees and bake for 12-15 minutes, or until the top is a light golden brown.
  8. Melt the remaining tablespoon of butter and brush the top of the rolls.

Props to Cozy Cook

Copycat Texas Roadhouse Butter
Serves: 8 Tablespoons
Ingredients
  • 1 stick salted butter
  • ¼ cup powdered sugar
  • 1 & ½ Tbsp honey
  • ¾ tsp cinnamon
Instructions
  1. Let butter warm to room temperature. Mix with other ingredients until well-combined. You can briskly whisk with a fork, or use a hand-held electric mixer. Refrigerate until ready to use and enjoy!

Props to Cozy Cook!

Copycat Texas Roadhouse Steak Rub
Ingredients
  • 2 tablespoons kosher salt
  • 2 teaspoons brown sugar
  • ¼ teaspoon cornstarch
  • ¼ teaspoon garlic powder
  • ¼ teaspoon garlic salt
  • ¼ teaspoon onion powder
  • ¼ teaspoon turmeric
  • ½ teaspoon paprika
  • ½ teaspoon chili powder
  • 1 teaspoon black pepper
Instructions
  1. Combine all ingredients in a gallon-sized plastic bag and seal it tightly. Shake it to thoroughly combine all ingredients.
  2. Cut a small hole in the corner of the bottom of the bag and pour the contents into a spice container.
  3. Generously cover each side of the steak with the seasoning and let it rest for about 40 minutes. This allows the salt to penetrate through the surface (through osmosis, oohhhh…) and actually helps break down the muscle fibers, which results in a more tender meat. During this time, the liquid that initially surfaced has time to reabsorb, which makes the meat juicer.
  4. Once the grill is nice and hot, place the steak(s) on and cook for 4-5 minutes, until it’s browned and slightly charred. Flip it over and cook for the following additional time:
  5. -5 minutes: Medium Rare
  6. -7 minutes: Medium
  7. -10 minutes: Medium- Well 

Props to Cozy Cook

Tuesday, July 21, 2015

right now.

1 comment:
I have loved working with the JustNick cut files, my focus on this layout was the Right Now cut:
Here are the files that I used from the shop:

 closeup:

I really like how the O of now doesn't have a center--I decided to put flair in the middle to create that center part of the O.  I also like that the title is already welded together for me, I get to choose the size that I want it to be!  I wanted it to be larger and then layer other cuts underneath of it.  I chose to used both the  Radioactive and the Borders 1 cuts.  As you can see I decided to paint with mist both my title and radioactive cuts.

Thursday, July 16, 2015

remembering.

2 comments:
This layout was a long time in coming, these pictures were taken a few years ago at the memorial for my Aunt who had passed away.  It was a special day to celebrate an AMAZING women with my family I don't get to see very often.

I used the  You are My Favorite kit, I fell in LOVE with ALL the pattern papers I wanted to use them ALL!  My problem was that I had already cut a 2 1/4" strip off the side of it.  I thought for a minute and realized that if I turned the paper on it's side I could use the decorative edge on the bottom, and a piece from another sheet in the kit.  I laid the paper down next to a ruler lining it up to figure out the exact length I needed to make the layout a 12 x 12 layout.  I then cut extra so that I could adhere it on the back of the background.  Sound difficult--it really wasn't.  After I had it the size I wanted I cut another thin strip of pattern paper to cover the edge--then I lined my pictures up next to it.

Lastly I didn't want the name of the pattern paper to show so I decided to place my journaling over the top!  I used EVERY scrap of paper--LOVE doing that!

Sunday, July 12, 2015

pinterest food find. Sour Cream Pound Cake

1 comment:
okay I have to tell you this was SO totally yummy--there was NOTHING left!
Food Credit: Paula Deen

Ingredients

  • 1/2 teaspoon vanilla extract
  • 3 large eggs
  • 1/4 teaspoon baking soda
  • 1/2 cup sour cream (I used Fage greek yogurt)
  • 1 1/2 cups sugar
  • 1 cup butter, room temperature
  • 1 1/2 cups all-purpose flour

    Preparation

    Preheat oven to 350°.

    In a large mixing bowl, cream the butter and sugar together. Add the sour cream and mix until incorporated. Sift the baking soda and flour together. Add to the creamed mixture alternating with eggs, beating in each egg 1 at a time. Add vanilla.

    Pour the mixture into a greased and floured loaf pan. Bake for 40 minutes to 1 hour or until toothpick inserted into the center of the cake comes out clean.

Friday, July 10, 2015

cultural celebration.

2 comments:
I really like to use sketches to challenge my creativity, here is this month's sketch for Scrapbook Circle:
I decided to scrap this fun candid picture of my son at the Gilbert Temple cultural celebration last year in March.  The weather was all over the place, HOT, windy, and RAINY--so I was REALLY happy when I snapped a few GREAT pictures like this one!
Here are a few closeups:
 for this green part, I used my versa mark ink and embossing powder and the cool mask included in the You are My Favorite kit by Scrapbook Circle.
Please feel free to play a long with the sketch and share your pages to the Facebook for Scrapbook Circle.
Thanks for the visit!!


Tuesday, July 7, 2015

reunion.

1 comment:
I fell in LOVE with the mood board this month from Scrapbook Circle--seriously excited to be able to be challenged with it for this month:
I was inspired by the gold, turquoise, flowers, and triangles, here are some closeups:

The black and white flowers were mimicked along the bottom of the page with the strip of paper, the flowered papers are featured in the rectangle strip peaking out from underneath the heart "polka dot" paper-and finally the triangle in the rings are featured along the right side of the picture.

I LOVED this picture, a special time to celebrate the life of my uncle--LOVED spending the time with my family.  Thanks for the visit today, remember if you play a long with the mood board on the Scrapbook Circle blog there is a prize!  Please share your pages on the Facebook page.


Sunday, July 5, 2015

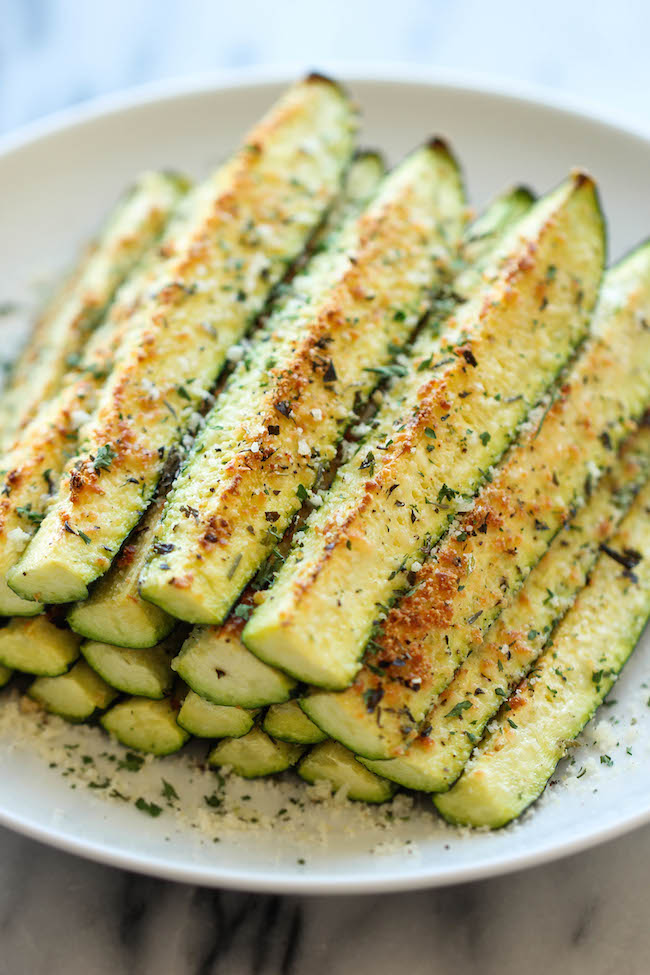
pinterest food finds.Baked Parmesan Zucchini

1 comment:
Talk about DELICIOUS!!
Food Credit: Damn Delicious
BAKED PARMESAN ZUCCHINI
Prep Time 10 minutes
Cook Time 20 minutes
Total Time 30 minutes
Yield 4 servings
Crisp, tender zucchini sticks oven-roasted to absolute perfection. It's healthy, nutritious and completely addictive!
INGREDIENTS
  • 4 zucchini, quartered lengthwise 
  • 1/2 cup grated Parmesan 
  • 1/2 teaspoon dried thyme 
  • 1/2 teaspoon dried oregano 
  • 1/2 teaspoon dried basil 
  • 1/4 teaspoon garlic powder 
  • Kosher salt and freshly ground black pepper, to taste 
  • 2 tablespoons olive oil 
  • 2 tablespoon chopped fresh parsley leaves
INSTRUCTIONS
  • Preheat oven to 350 degrees F. Coat a cooling rack with nonstick spray and place on a baking sheet; set aside. 
  • In a small bowl, combine Parmesan, thyme, oregano, basil, garlic powder, salt and pepper, to taste. 
  • Place zucchini onto prepared baking sheet. Drizzle with olive oil and sprinkle with Parmesan mixture. Place into oven and bake until tender, about 15 minutes. Then broil for 2-3 minutes, or until crisp and golden brown. 
  • Serve immediately, garnished with parsley, if desired.

Friday, July 3, 2015

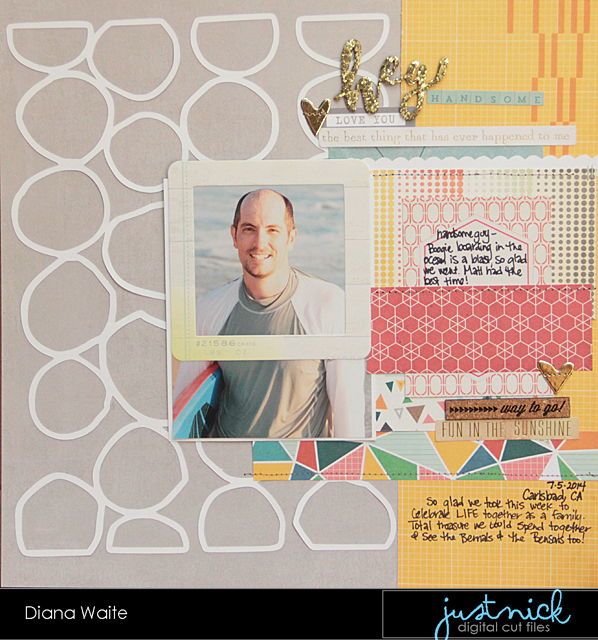
hey handsome.

1 comment:
My featured background for this layout was the Pebbles 2 cut:

I fell in love with this cut once I saw it--I knew how I was going to use it!  The cut reminded me of sand crystals on a beach and I knew I had some fantastic beach pictures from last year to scrap--serendipitous!  I want the cut to help embellish the layout without being to distracting, so I opted not to back it with other patterned paper:
I added touches of liquid glue to some of the connected circles to adhere it to my background paper.  I like that affect because it is glued to the background without being plastered, some of the edges lift up a bit to give some dimension.  I then just layered on top of it, with my photo, other pattern papers, and embellishments.
Thanks SO much for the visit today!!